
Hummus, commonly called hummus bi tahina, is a smooth chickpea and tahini preparation enjoyed throughout the Middle East, particularly across the Levant. The Arabic word hummus means chickpeas, while the complete name refers to chickpeas prepared with tahini. Its precise birthplace remains disputed, although chickpeas, sesame, lemon and related preparations have appeared throughout the region for centuries. Written dishes resembling modern hummus appear in medieval Arabic culinary records, including a 13th-century Syrian cookbook.
The defining flavour of traditional hummus does not come from olive oil alone. It comes from a generous amount of high-quality tahini, balanced with lemon, garlic and salt. Testing by Serious Eats found that a tahini amount equal to roughly 25–50% of the chickpeas’ weight creates a smoother and more luxurious hummus. This recipe uses enough tahini to provide a pronounced sesame flavour without overpowering the chickpeas.
The texture begins with very soft chickpeas. Baking soda raises the alkalinity of the cooking water, helping the chickpea skins and structure break down more easily. This creates chickpeas that can be blended into a much smoother purée without individually peeling every chickpea. The beans should be softer than you would normally serve in a salad and should crush effortlessly between two fingers.
Long blending is the final secret. Processing the warm chickpeas for five to seven minutes breaks down remaining pieces and incorporates air into the mixture. After the tahini is added, ice water loosens and lightens the hummus, producing a pale, fluffy and swoopable texture. The result is significantly fresher and silkier than most thick, refrigerated store-bought hummus.
Frequently Asked Questions
Do I need to peel every chickpea?
No. Boiling the chickpeas with baking soda softens the skins enough that individual peeling is generally unnecessary. You can skim away loose skins during cooking for an even smoother result.
Why is my hummus grainy?
The chickpeas may not have been cooked until sufficiently soft, the hummus may need more liquid or it may not have been blended long enough.
Why is my hummus bitter?
The tahini or olive oil may be bitter. Taste both before adding them. Too much raw garlic can also create an unpleasant sharpness.
Can I make hummus without tahini?
You can make a chickpea dip without tahini, but it will not have the same traditional sesame flavour or creamy texture as hummus bi tahina.
Can I use bottled lemon juice?
Fresh lemon juice produces a cleaner and brighter flavour. Bottled lemon juice is not recommended for a recipe with so few ingredients.
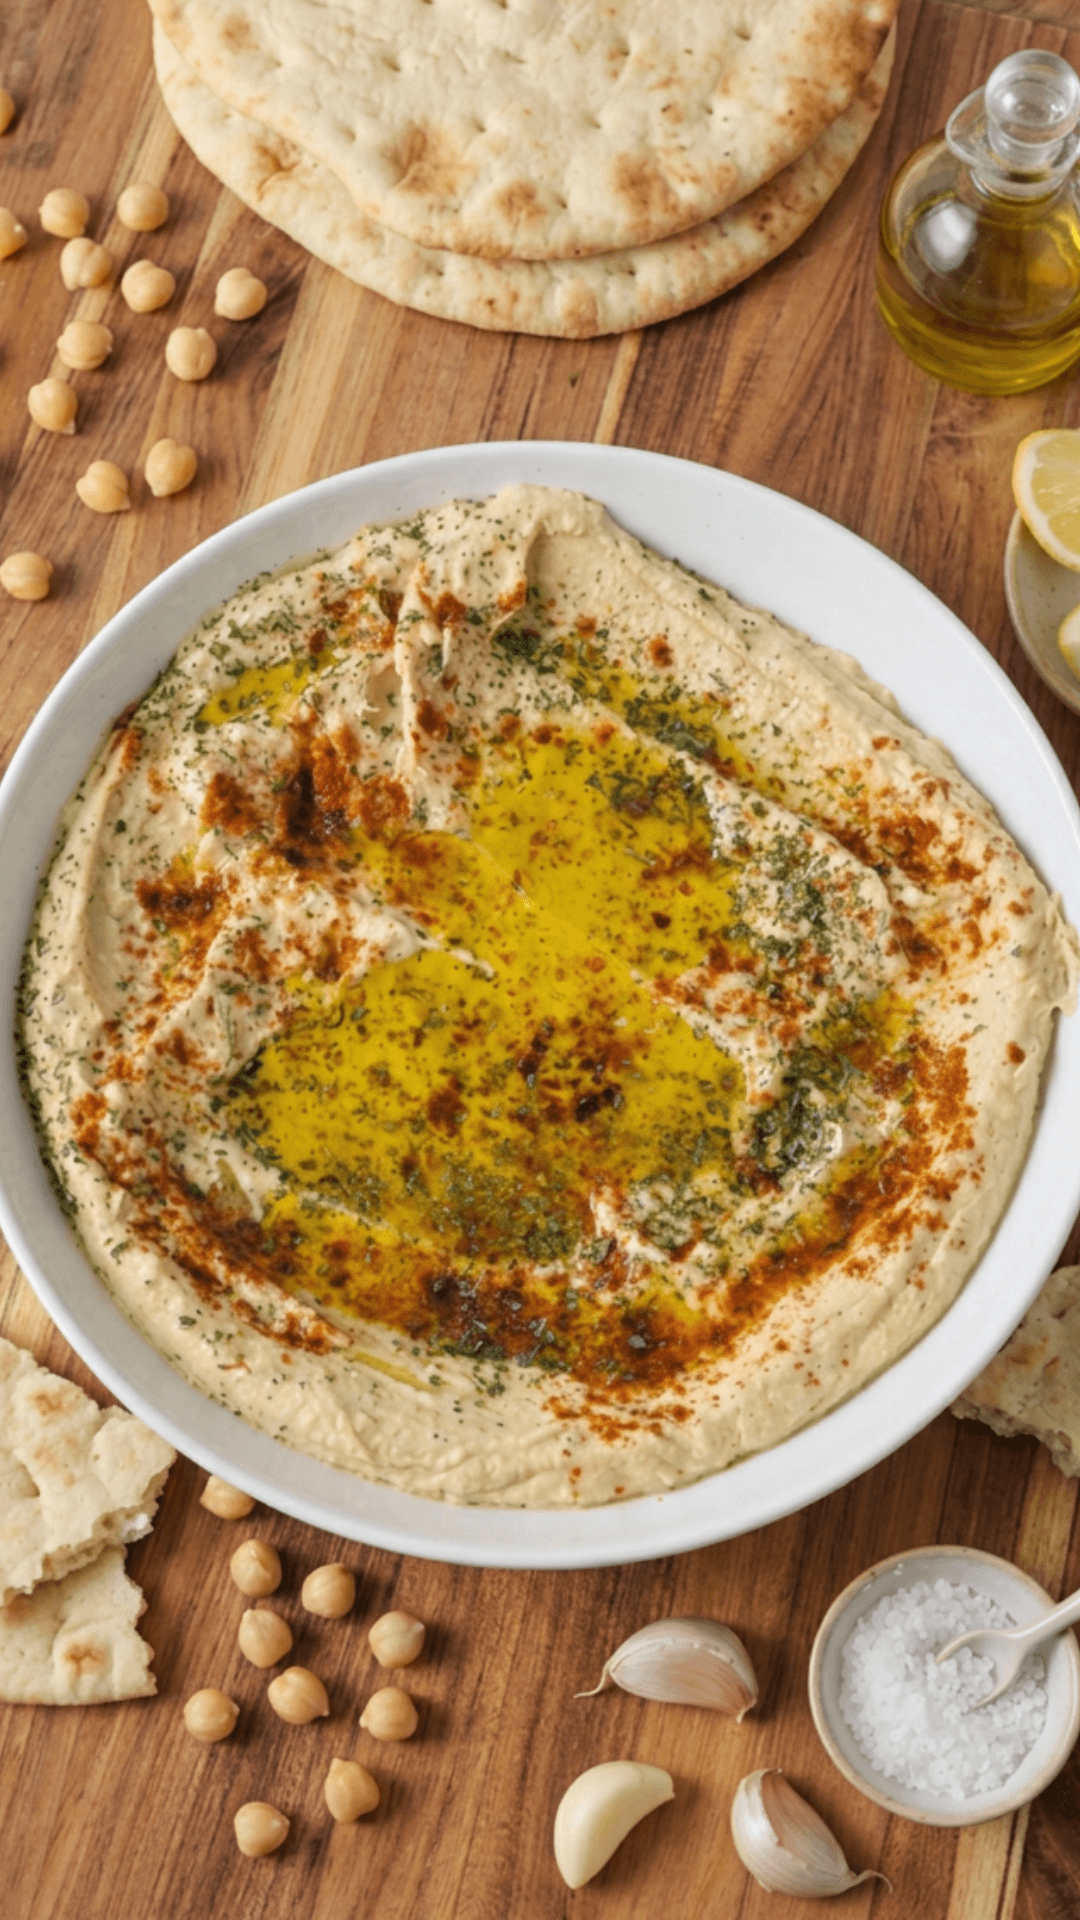
Traditional Middle Eastern Hummus Recipe
Equipment
- Food Processor
Ingredients
Chickpea Option 1: Dried Chickpeas
- 1 cup Dried chickpeas, approximately 200 g
- 1 tsp Baking soda, for soaking
- ½ tsp Baking soda, for cooking
- Water, as needed for soaking and cooking
Chickpea Option 2: Canned Chickpeas
- 1 Cans chickpeas, 398 mL or 14 oz each
- 1 tsp Baking soda
- Water, as needed for boiling
For the Hummus
- ½ cup Freshly squeezed lemon juice, approximately 120 mL
- 2 Medium garlic cloves
- 1¼ tsp Fine sea salt, plus more to taste
- ¾ cup Well-stirred tahini, approximately 180 g
- ½-¾ cup Ice-cold water (or ice cubes), approximately 120–180 mL
- 2 tbsp Extra-virgin olive oil, for serving
Optional Traditional Garnishes
- Reserved whole chickpeas
- Sumac
- Aleppo pepper or paprika
- Finely chopped fresh parsley
- Toasted pine nuts
- Additional tahini
- Warm pita bread
Instructions
Method One: Preparing Dried Chickpeas
1. Soak the chickpeas overnight
Place the dried chickpeas in a large bowl and add the teaspoon of baking soda.Cover the chickpeas with at least three times their volume of cold water. The chickpeas will expand considerably as they soak.Cover the bowl and soak the chickpeas at room temperature for 8–12 hours.2. Drain and rinse
Drain the soaked chickpeas and rinse them thoroughly under cold running water.Discard the soaking liquid.3. Cook until extremely soft
Transfer the soaked chickpeas to a large pot. Add the ½ teaspoon of baking soda and cover with several inches of fresh water.Bring the water to a boil, reduce it to a steady simmer and skim away any foam or loose chickpea skins that rise to the surface.Cook for approximately 45–75 minutes. The exact time will depend on the age and type of chickpeas.The chickpeas are ready when they look slightly broken down and can be crushed effortlessly between your fingers.Drain the chickpeas, reserving a small amount of the cooking water. Do not allow the chickpeas to cool completely.
Method Two: Preparing Canned Chickpeas
1. Drain and rinse
Drain the canned chickpeas and rinse them thoroughly under cold running water.Transfer them to a medium saucepan.2. Boil with baking soda
Cover the chickpeas with several inches of fresh water and add 1 teaspoon of baking soda.Bring the water to a boil and cook the chickpeas for approximately 15–20 minutes.The chickpeas should become extremely soft, and some of the skins may begin separating and floating to the surface.3. Rinse thoroughly
Drain the chickpeas in a fine-mesh strainer and rinse them thoroughly with warm water to remove any remaining baking-soda flavour.Reserve approximately 2 tablespoons of whole chickpeas for garnishing, if desired.
Make the Hummus
1. Blend the chickpeas, lemon, garlic and salt
While the chickpeas are still warm, transfer them to a large food processor or high-powered blender.Add the lemon juice, garlic and salt.Blend for a total of 5–7 minutes, stopping every 60–90 seconds to scrape down the bottom and sides.The chickpeas will initially look thick and grainy. Continue processing until the mixture becomes noticeably smoother.Allow the appliance to rest briefly between blending periods if the motor becomes hot.2. Add the tahini
Add the well-stirred tahini to the chickpea mixture.Process for another 2–3 minutes, stopping once or twice to scrape down the bowl.The hummus may initially become thicker when the tahini is added. This is normal.3. Add the ice water
With the food processor running, slowly add ½ cup of ice-cold water.Continue adding water, one tablespoon at a time, until the hummus becomes pale, creamy and slightly looser than your preferred final consistency.The hummus will firm up as it cools, so avoid leaving it too thick.Depending on the chickpeas and tahini, you may need up to ¾ cup of water.4. Taste and adjust
Taste the hummus and adjust it as needed.Add more lemon for brightness, salt for flavour or cold water for a softer texture.Avoid adding too much raw garlic. Its flavour will become stronger as the hummus rests.5. Plate the hummus
Spoon the hummus into a wide, shallow serving bowl.Use the back of a spoon to create a circular well or several smooth swoops across the surface.Drizzle the extra-virgin olive oil into the centre and garnish with reserved chickpeas, sumac, parsley or Aleppo pepper.For a more traditional presentation, use olive oil primarily as a finishing ingredient rather than blending a large quantity directly into the hummus.